
General automation configuration
After setting up your automation, save it and add the main automation settings
Configuration window
This configuration window appears after pressing the button Save & Exit:
Fields
You can check certain fields from the window, Save & exit, as seen below: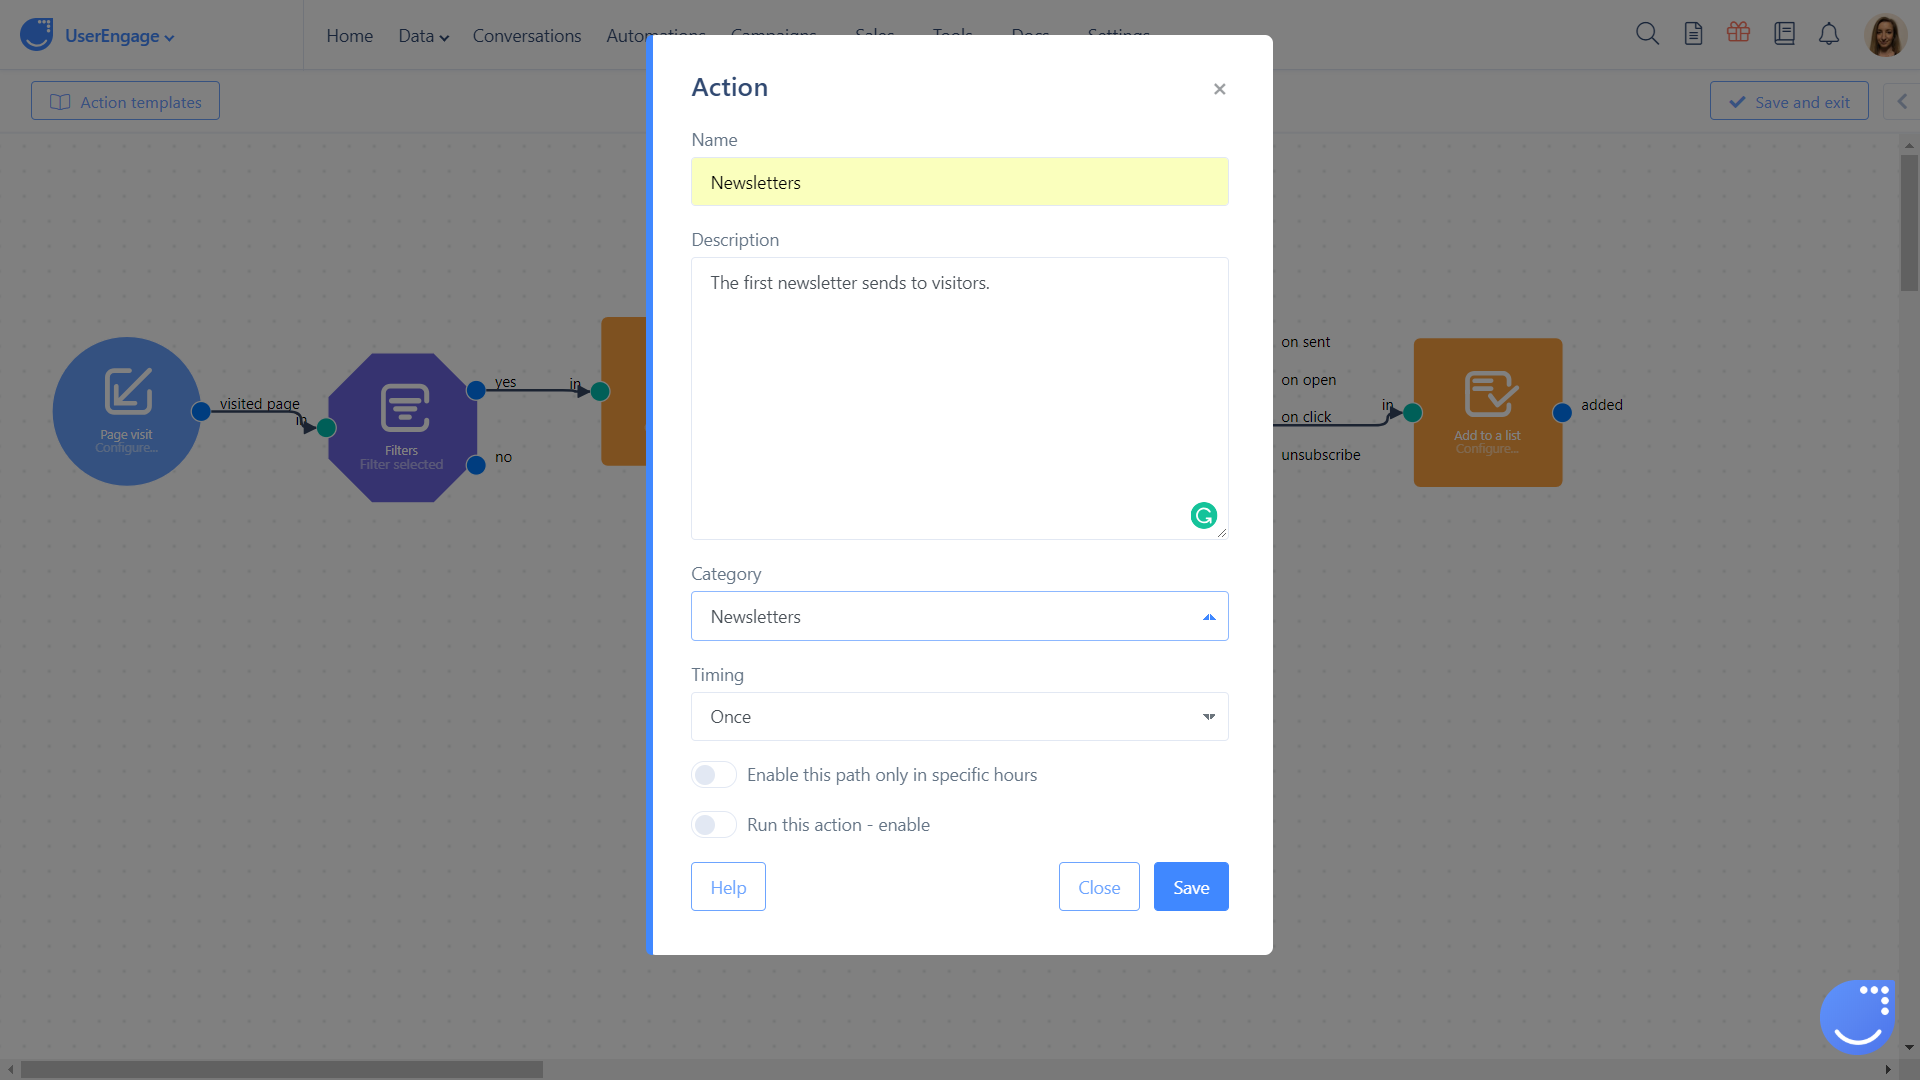
Name
The name of the automation that will be displayed on your automation list
Description
Description of the automation: here you can add information for other agents or briefly describe the purpose of the automation.
Category
Choose among the categories you want the automation to be added to. Categories should be created in advance, for example: 'Sales process', 'Customer support', 'Newsletters', etc.
Timing
- "Once" means that every user who meets the conditions of the automation will go through it only once.
- "Max. once per day" means that the user who meets the conditions of the automation will only go through it once every day (after 24 hours has been over).
- '"Each time the condition is met" means every time the user meets the conditions they will go through the automation.
- "For the next x days" lets you set how many days the automation will be active for, optionally in what interval the automation should be triggered.
- "Only on given week day" lets you choose the day(s) when your automation should run (useful in setting up an autoresponder), for example: during the weekend or for an email campaign about Wednesday's discounts.
- "No more often than" option adding that after calling the automation for a unique user, there is a break given in minutes, during which the automation will not be performed again and will restart for the user only after the said pause.
Specific hours
In each of the above-mentioned time options, you can set the time period during which the automation is active (when it's triggered). You can also specify if the automation is needed to run only a few hours per day, for example, on Wednesday before 9:00 and after 17:00. Then, set the system to check time periods Wednesday 00:00 - 9:00 and 17:00 - 00:00.
Run this action
To enable the automation, you must click either the toggle "Enable this path only in specific hours" or "Run this action - enable". Otherwise, the automation will be created but it will not be activated.