
How to create a pop-up
Use pop-ups to collect information from your visitors and navigate them on the website.
What is a pop-up?
To collect user data we can use either an embed form (the one built-in to your website) or a pop-up form that appears on the page to attract user's attention and disappears after interaction.
Pop-ups can be divided into 2 categories: redirect pop-ups and pop-up forms.
Redirect pop-ups include some call-to-action button or important information that we want to highlight.
For example an exit-intent pop-up "Check X before leaving" with the button that redirects a user to a specific page to keep the person on the website.
Another one can be "Check our seasonal promotions" - an alert for the user with the time-valid information and a button.
Pop-up forms are used to collect the information about a visitor. Usually these are the contact details. So, the pop-up includes some fields to fill, checkboxes or dropdowns.
The most popular example is the "Newsletter sign up" pop-up that allows us to built the list of newsletter subscribers. It often consists of an email field and a marketing consent checkbox. The same way you can collect user's preferences, phone number and other details.
Create a pop-up
In User.com you can find two possible options to create a pop: Pop-up Builder vs Pop-up Code Editor.
The first option allows you to create basic pop-ups on the basis of the predefined templates. You can personalize the content and upload own images. The second possibilities requires the HTML knowledge. You can base your creations on the available templates or create own pop-ups from scratch.
1. Go to Tools -> Pop-up.

2. Click Create new. Choose if you want to go with the builder or with the code editor.

Pop-up Builder
With this builder, you can create two types of pop-ups:
Pop-up forms
Redirect pop-ups
Once you define the type of the pop-up, you can select the layout of the pop-up: whether it should appear in the bottom or top of the page or whether it should cover the entire screen.
Later you can choose one of the existing templates depending on your needs, e.g. a discount, special offer, or rate request pop-up.

To change the pop-up's content, click Next.
Again you will see two tabs: Style vs Inputs
Here, in the fields under Style, you can write your own Header, choose the Buttons style, Text Color, Background Color, and select a Background image.

Under Inputs you can add more input fields or checkboxes depending on the template design. For example, user acceptance of terms and policy.

Click Next to save the changes. Name your form and click "Save". To know more details about the builder check this article.
Your form is ready! You may now create an automation with it.
Pop-up Code Editor
You can definitely build custom pop-ups directly in the HTML code. Our code editor is the right place for it.
It can be either creating the pop-up from scratch or modification of the existing templates.

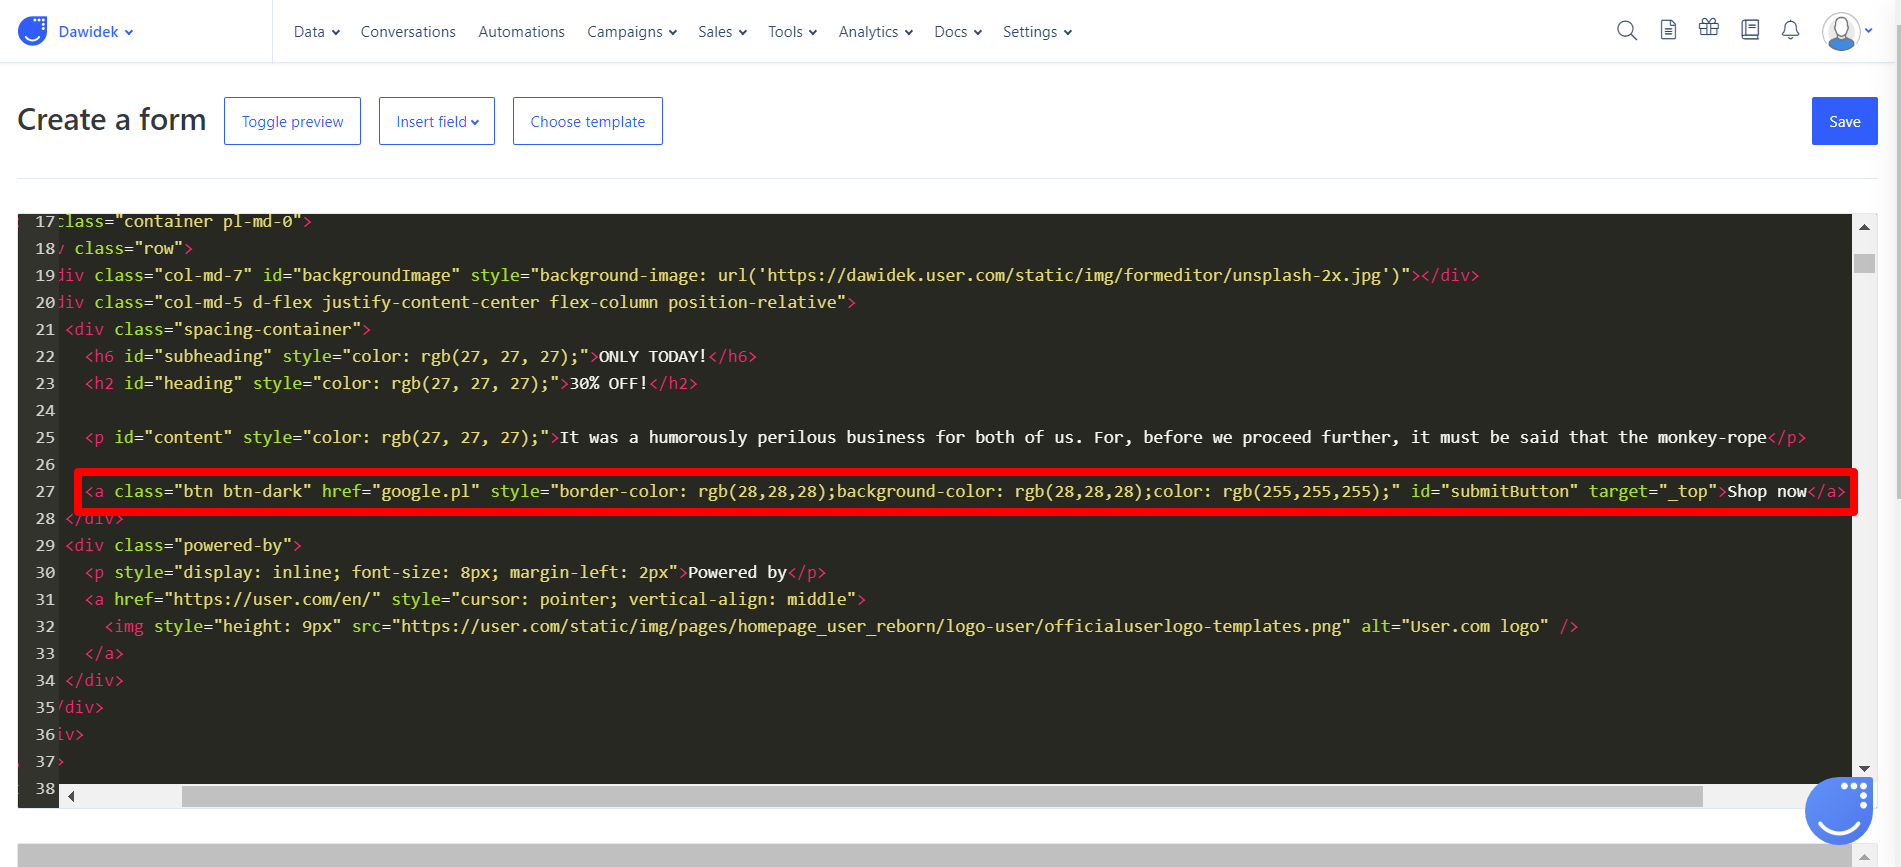
Caution!
Do not change the id of the button in redirect pop-ups! The id should stay as id=submitButton or which ever id the button has. If you change it it will no longer generate statistics for clicks and CTR%.
Insert field
Make a one-line break between two lines of code that are associated with elements you want to put the new field between, as on the screenshot below: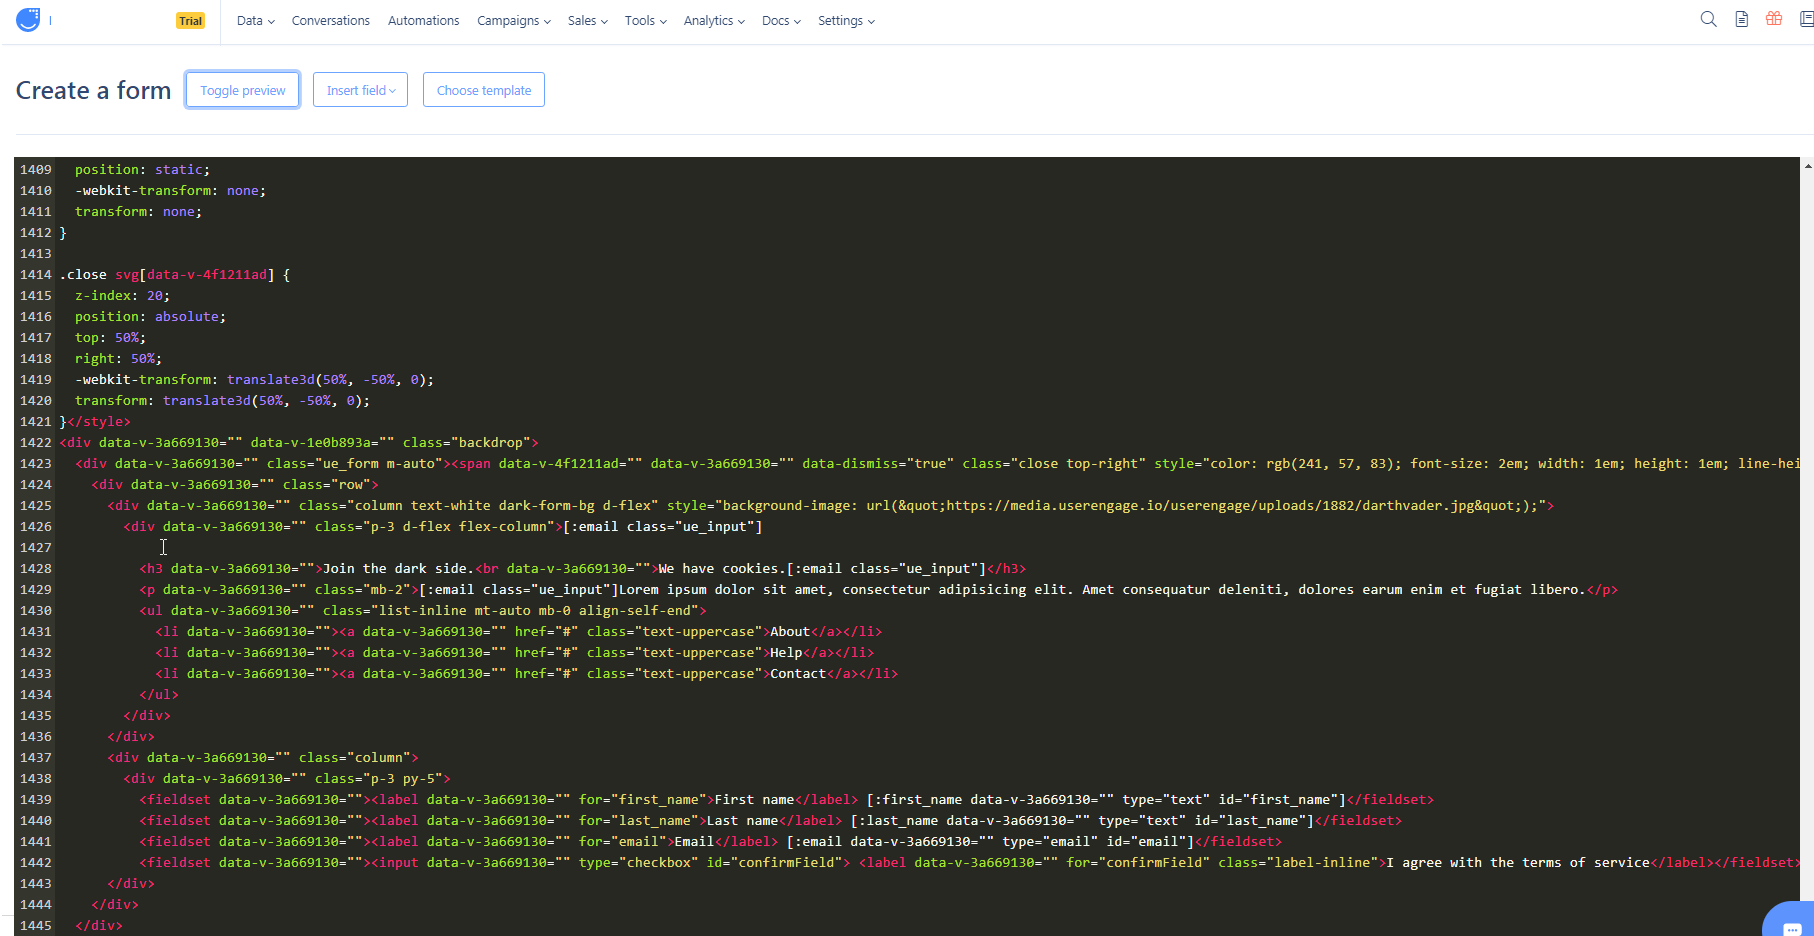
Click on the space then, from the drop-down menu, click on Insert Field. Click on the attribute you want to gather data for.

If you want to add a default text in the field, before the ending bracket of the form field code, enter the following: placeholder="your default text".
To know more about creating pop-ups with a "Thank you" message please check the following article.
How to show pop-ups
Congratulations! Now you have a pop-up prepared. To show this pop-up on the website you need to create an automation in the Automations section.
"Show a pop-up" module refers to all the pop-ups created in Tools > Pop-ups.
Example automation looks like this:

To know more about this process please check the following articles: