
How to set and use data collectors
Send data from simple forms without any coding skills
A Data Collector is a powerful module that enables you to download dynamic data, such as the content of the forms or text variables from the user's screen. You can then store the information as an attribute or as an event.
However, you need to be aware that this method will work only with simple forms. Also it can be corrupted by fast page refresh.
To activate the data collector you need two key elements: the data collector itself + the automation that defines when it should be fired.
Configure a Data Collector
First, go to the page from which you would like to gather data and specify the exact information that you would like to gather.
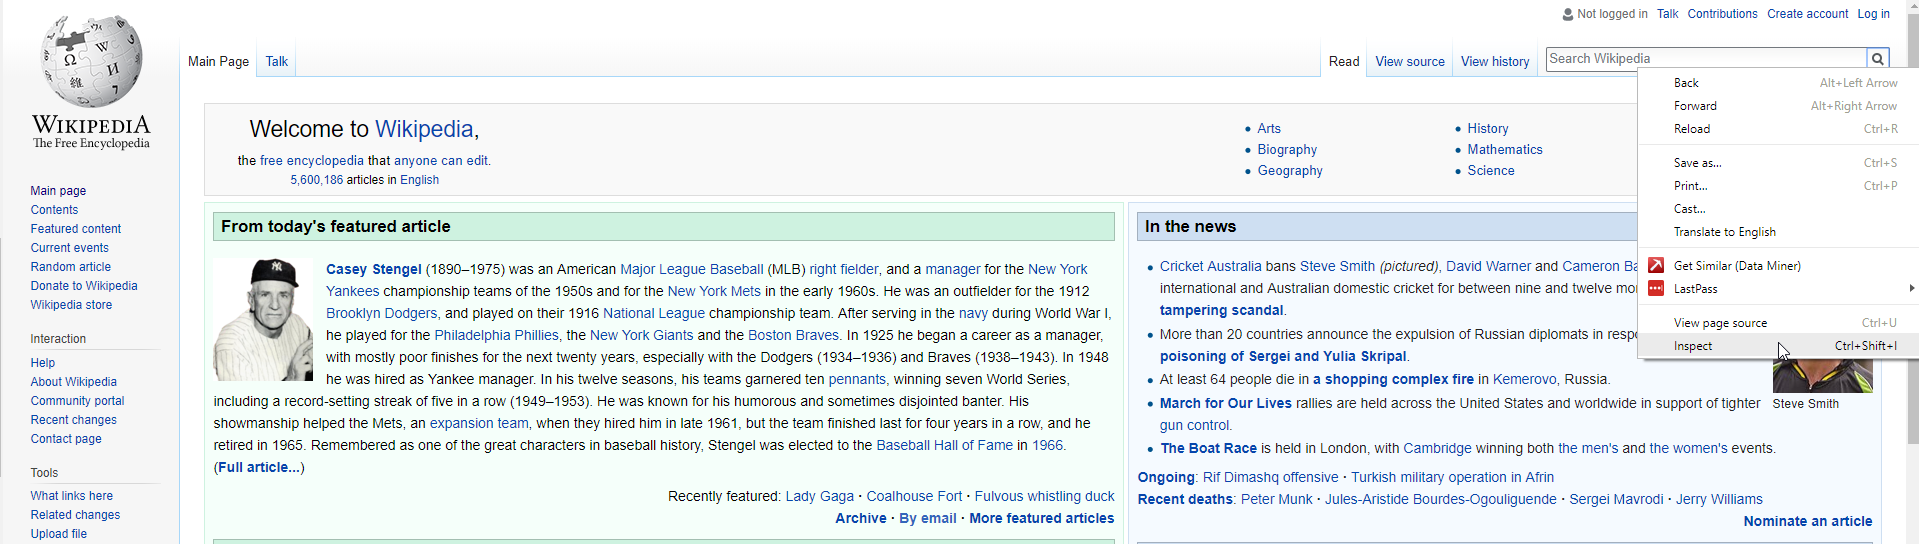
For example, https://www.wikipedia.org/: bear in mind that the User.com widget is not installed on that page so it won't be a real-life example.
Goal: Collect content of the search field when a user clicks the search button
Go to Tools > Data Collectors and click "Create new".
You will see a configuration view divided into 2 parts: Basic Info and Output. First you need to focus on "Basic info". It defines the Title of the data collector and the trigger.
Enter the Title of your data collector (it will be visible only within the app) and move to the Trigger. From the drop-down menu select a trigger that suits your specific case. In our use-case it will be a click trigger.
submit: is used when you can define the CSS selector of the form you want to send data from;
click: it refers to the specific button click;
change: this event occurs when the value of an <input>, <select>, or <textarea> element has been changed and the element loses focus;
mouseup: is triggered when a mouse button is released over an element;
mouseenter: is fired when the mouse pointer enters the element to which the event is bound or one of its children;
mouseleave: this option is used when you want to catch the user leaving the body of the website (exit-intent).
Now focus on the CSS selector of the element.

Here is how you can get it from your website:
With the right mouse button, click on the trigger element (in this case, the search button) and, from the drop-down menu select Inspect.
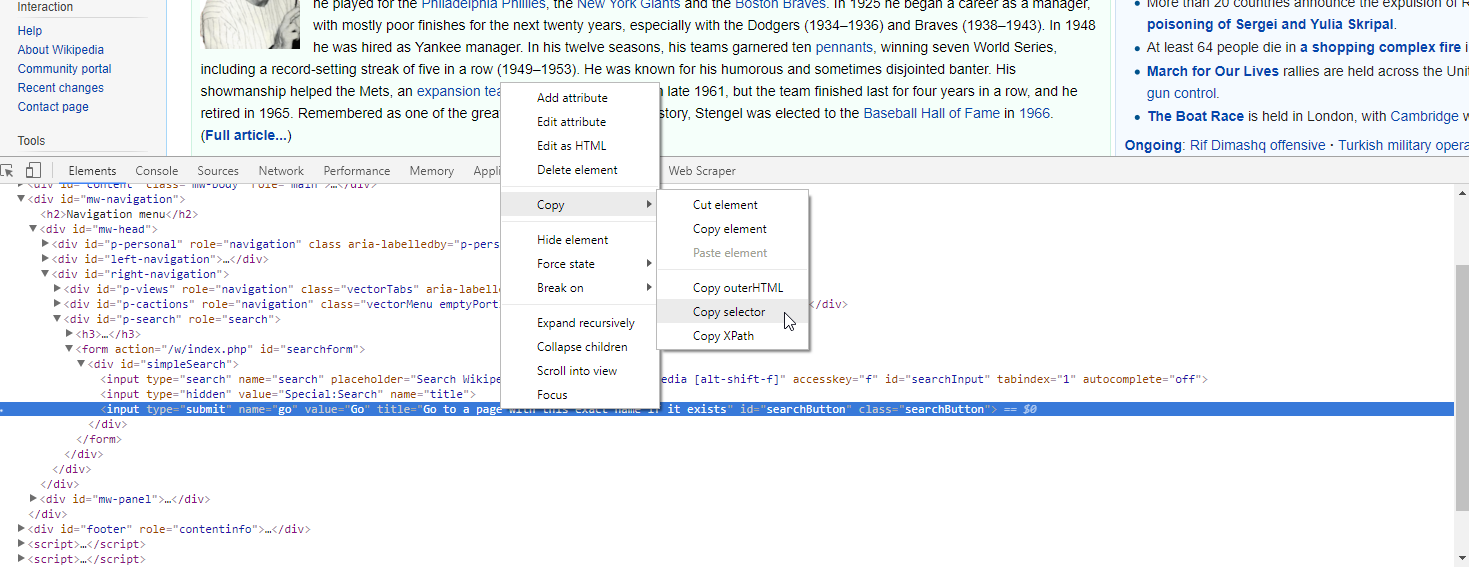
The console will appear on the screen. It will show you a highlighted line of code. This line of code corresponds to the button that we inspected.

Right-click on this highlighted piece of code and, from the drop-down menu, select Copy -> Copy Selector.
The next bit of data you need to provide is how you want to store the information extracted from the page. You can select an event to save the info about user's action on the timeline, and a user attribute to update user's profile, or both. In this example, we will choose both. So, check the checkboxes: Create event named and Update user attributes.

Set the event. You need to type the name of the event that should be fired for a specific user once he/she performs the action from the trigger. E.g. "wiki_search".

You can also set the event attributes if you want to send additional information about the occurrence. To do it click "Add event attribute"and fill in the new fields:

Now it's time to define what user attributes should be updated with the data collector. Choose one of the existing attributes.

Go to your website and copy the CSS selector of the search input field. (The process looks exactly like before.) Paste the value to the field.

You can add more attributes and events if you want to collect data from other fields.
Click Save.
Your data collector is ready!
Creating an Automation
The next thing you need to do is to create an automation that will activate the Data collector. Head over to the section Automations, and create a new Automation.
Your trigger will be Page Visit (set for your website).
Now, add the module Data collector and choose your DC from the list.

Now, you can save and activate the automation. When it comes to timing use the "each time condition is met" option.
Now your data collector it active.
It will send the data/event each time the module is triggered in the automation.
Automation summary
Let's walk through what happens when the user goes to that website, fills out the form and clicks "Search".
Once the user gets to the website, the module, Data Collector, is triggered.
Now, the system waits for the user to click the search button.
The user fills out the form.
The user clicks the search button, and bang! Without even knowing, they spark the system to collect the content of the search field.
Data which has just been collected goes straight to the "last name" attribute and is also saved as an event called "Wiki Search" with one attribute called "last name".
Elements used in this use case
Module: Tools > Data Collector
Automation module: Page Visit trigger
Automation module: Data Collector
Troubleshooting
Problem: All the users flow through the Data collector module, but data does not get extracted.
Response: There might be several reasons for that:
You have not provided a correct trigger selector. (Some pages are based on a dynamic selector format, meaning that the selector changes with every page view, therefore, it can't be used to identify the trigger element.)
You have not provided a correct data source selector (perhaps caused by the dynamic structure as above).
You have mistakenly extracted the selector of the wrong element. When copying the selector, always make sure to look for which element is highlighted. It may be that only a part of the button is addressed, so the automation will work only for people who click in that specific area of the text.
Data from your source does not match the type of the attribute you chose; for example, you are trying to send "John" as the value of "last seen" attribute.
You use the same trigger for the action as a whole and "Data collector". As explained above, you first need to trigger the action then trigger data extraction separately. For example, a correct way to do this is to set an automation trigger as "Page visit" and set the trigger for "Data collector" as "submit form button". The wrong way would be to set the "submit form button" for both.
Note, there can be a problem with sending data from the form on Safari. Form submit on this type of browser triggers the page reload that automatically breaks the data sending process.