
Redirects
Find more about the "Redirects" module
Redirects allow you to send the user data to another URL, simultaneously creating the event and the user's authorization with the global cookie.
Let's begin
1. Go to Tools -> Redirects.
2. Click Create new.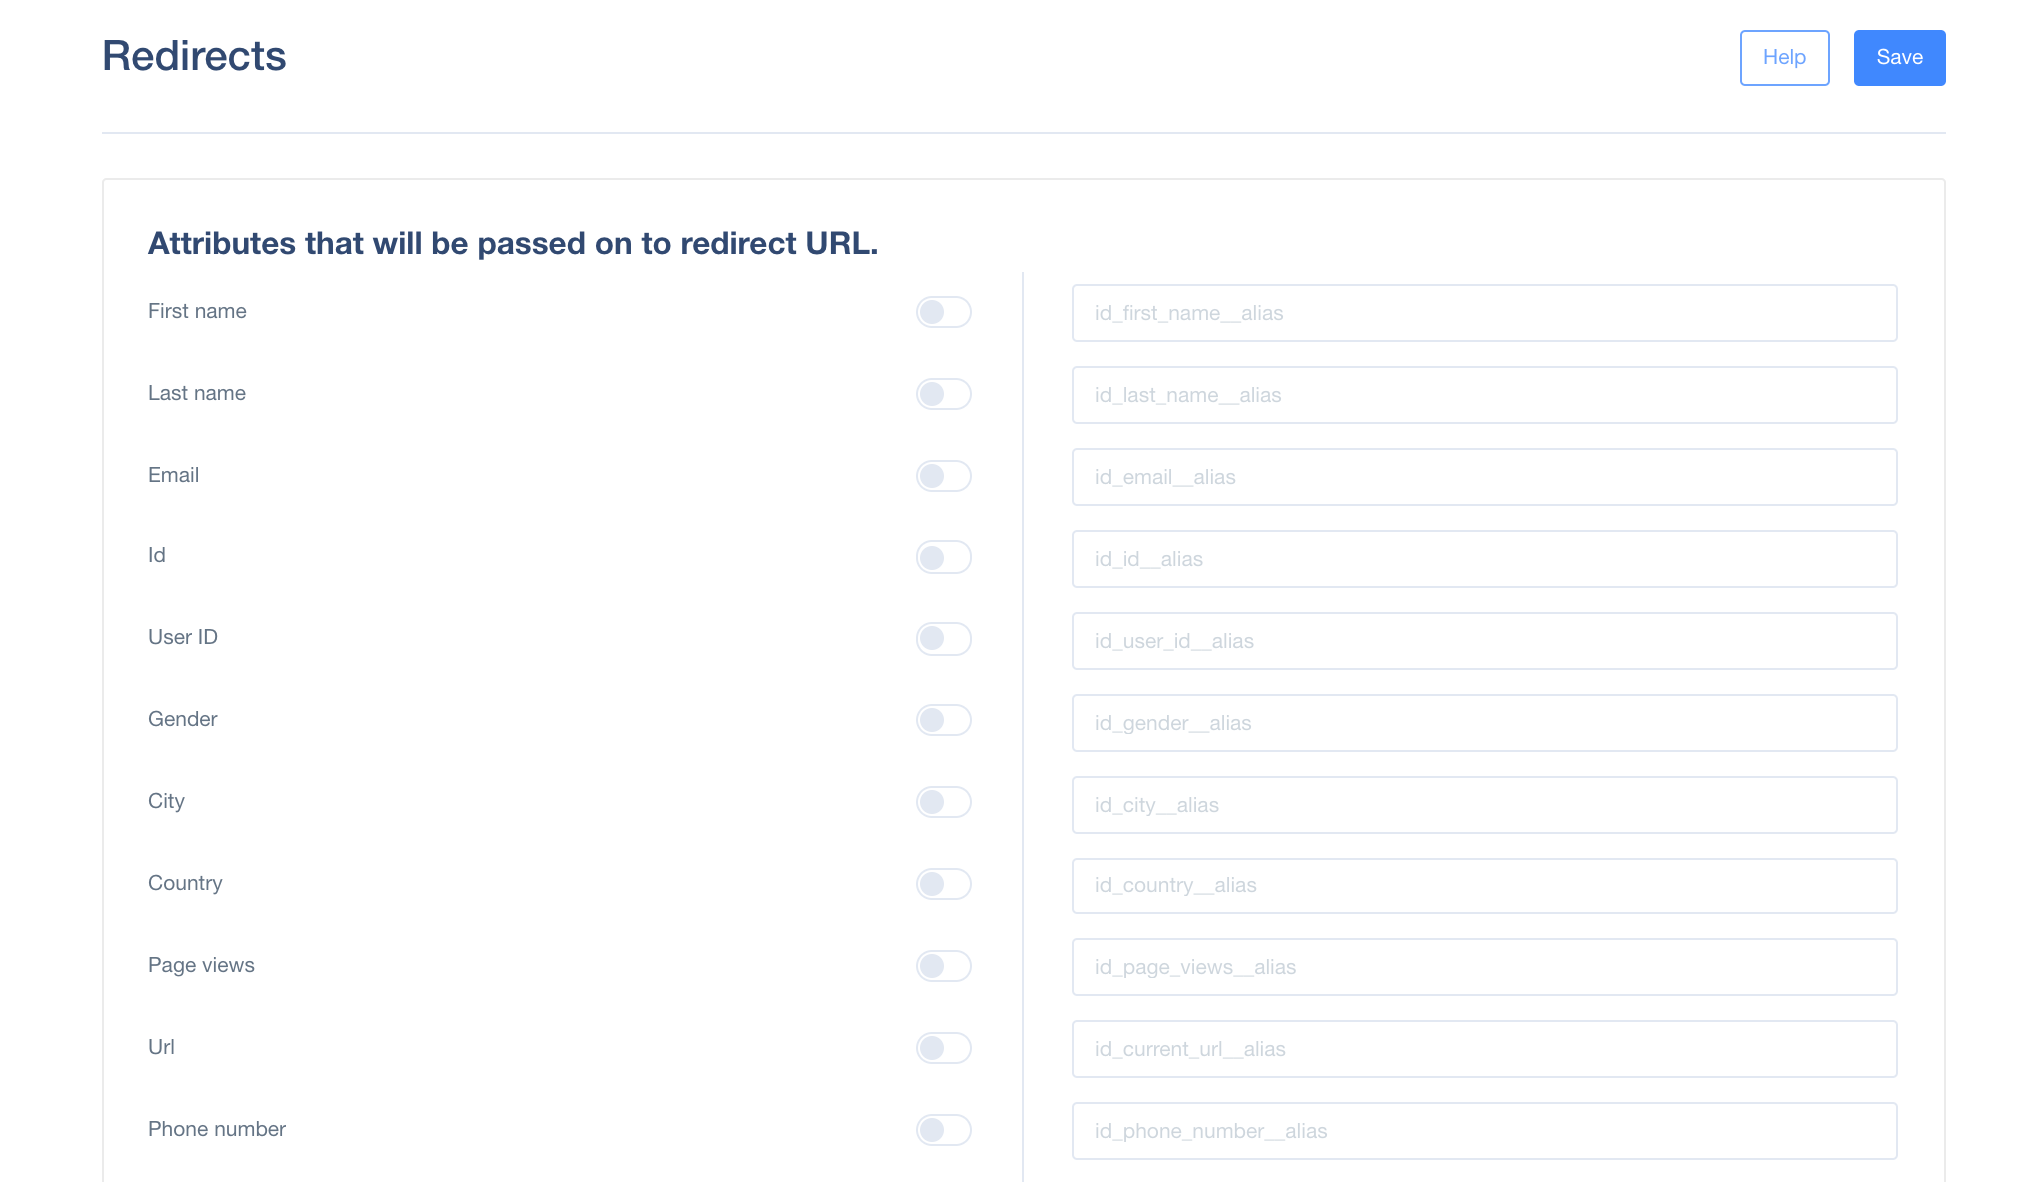
- Enable the attributes you want to add to the URL the user will be redirected to.
- Click Save. After saving, the redirect_key will be generated.
- Enable its status.
How to create Redirect Url
- base url: https://yourAppName.user.com/redirect/redirect_key/
- redirect_key - key(Name) from User.com database generated when creating the Redirect.

- url - parameter indicating the URL to be user will be redirected to ?url=https://google.com (Required)
- email - parameter that gives the email address of the user being redirected &email=john.doe@example.com (Optional)
- user_id - userID if it is known &user_id=BF0045 (Optional)
- event_name - event name with attributes &event_name=yourevent&even_attrname=eventattrvalue (Optional)
For the User.com application named Test, final URL will look similar to this, depending on attributes of your choice:
https://test.user.com/redirect/tyCbINZrG4e/?user_id=12345&url=https://user.com/en
What the process looks like from User.com
- We receive the request.
- We check for a global cookie.
- If there is a global cookie, we extract the local cookie for user, for application that redirect_key is registered.
- If there is no global cookie, we create one.
- If there is no local cookie, we create one.
- If we have user_id to we have GC i LC based on user_id.
- We redirect.
- We create the event and note it in the timeline.
- We do everything to make the process as fast as possible (~80ms).
Case study
Let's say you are organizing a webinar on a 3rd party tool. You do not have the option to implement our User.com widget there to track the users. That is why every user who clicks, for example the ads of such webinar, with this redirect link generated and used in such campaign, will go for a moment into the invisible page with our widget chat where we will track his cookie. Then he will be redirected to the real link with the webinar. So, thanks to that we track the user's cookie. Later on, when he comes for the 1st time into your website were the widget is installed, you will have the info about him already. :)