
User.com + Enhanced Ecommerce dla GA4
Integrate your User.com application with Enhanced Ecommerce events for GA4
Google Analytics 4 (GA4) is the latest version of a data analytics tool that enables businesses to track user behavior on websites, mobile applications, and more. GA4 offers advanced capabilities and integrations compared to its predecessor, making it the new standard for website owners, especially e-commerce stores.
Enhanced Ecommerce for GA4 defines a popular standard for e-commerce event tracking. It is worth implementing because it is easy to set up with readily available documentation and solutions, allowing for quick and simple event integration on your website with other systems such as the User.com platform.
In this article, you will learn how to quickly create the foundation for effective marketing automation using a ready-made implementation file.
Step 1. Implement Enhanced Ecommerce for GA4 on your website
If you haven't implemented Enhanced Ecommerce for GA4 on your website yet, you will find the necessary documentation here - share it with your developer.
You can find a list of recommended e-commerce events to track in articles like this one.
For the basic integration with User.com to work correctly:
1. Ensure that you are tracking the following events in GA4:
2. Ask the developer to create a user_id variable in the dataLayer, which will pass the User ID of the person visiting your website.
3. If you don't use Google Tag Manager yet, create an account and configure it for your website. Implement a container on your site, which you will set up for integration later.
Ready? Great! Now proceed to the next step.
Step 2. Import of a ready-made GTM container
1. Download this file - it contains a ready-made container for integration with User.com.
2. Unzip the folder on your computer. Inside, you'll find a .json file that you will use in the next step.
3. In the GTM panel, go to the Admin tab, then to the Import Container section.
4. Select the file for import, check the Existing workspace option, and choose Merge in import options. Also, check the option to Rename conflicting tags, triggers and variables.

5. Confirm the operation.
Step 3. Customize variables in the imported container
To connect the imported tags to your User.com application, make the following changes:
1. Go to your User.com application, Settings -> Setup & Integrations.
2. Copy your API key.

3. In GTM, go to Variables, then edit the User.com | Const | Api Key variable, and paste the API key, replacing the sample value. Save the changes.
4. Return to User.com and copy your domain.

5. In GTM, edit the User.com | Const | App Domain variable, and paste the domain, replacing the sample value. Save the changes.
Done! If you have implemented GA4 on your website according to our guidelines, the four basic e-commerce events will soon be recorded in your User.com application.
Before publishing the container, it's a good idea to test the new settings.
Step 4. Test the container
To test the new container settings, use Preview mode in Google Tag Manager:
1. Click the Preview button in the top right corner of the GTM panel.

2. Enter your website's URL and click Connect.
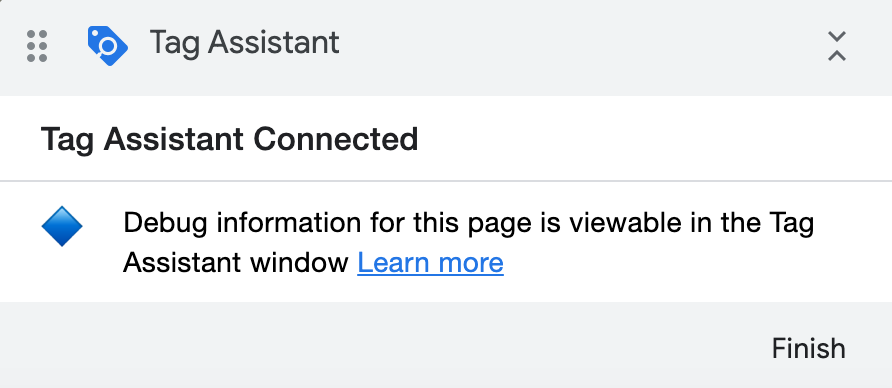
3. You should now see two distinctive elements:
- Tag Assistant message (and Tag Assistant itself in a separate window/tab).
- User.com chat widget in the bottom right corner (unless you've disabled its visibility in the application settings).
If either of these elements is not visible, go back to the previous steps to ensure you have followed the instructions correctly.
4. After entering your website, you should also see the User.com | Implementation tag firing in Tag Assistant:

In the User.com application, you can also continuously track events recorded for your user:
- Go to Data -> People section.
- Find the record created during your tests and click on it.
- After the Implementation tag has fired, you should see a page view event on the user's page

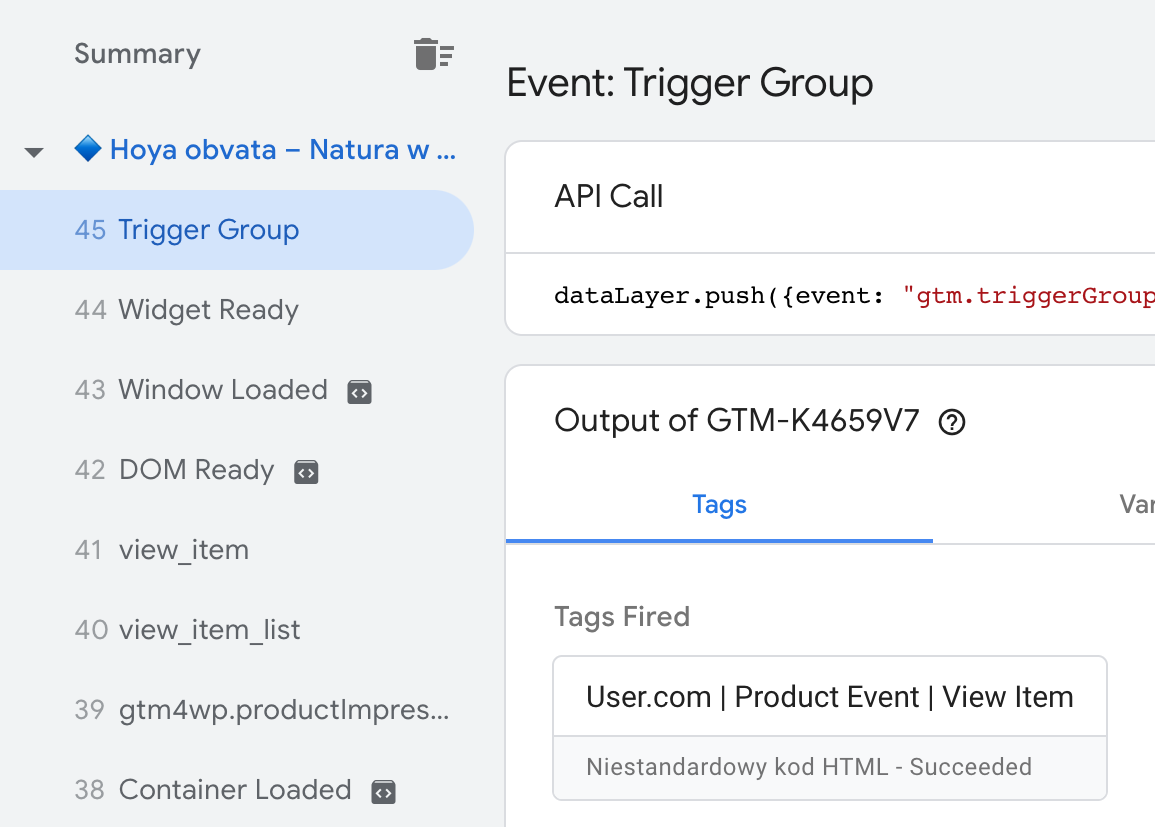
5. Return to the tab with your website and trigger the view_item event by visiting a product page.
In Tag Assistant, the Trigger Group should activate the tag and record the product event in User.com:

6. Similarly, test the following events one by one:
- add_to_cart (adding a product to the cart)
- begin_checkout (starting the payment process)
- purchase (making a purchase)
If any of the tags are not triggered, or the event is not recorded in User.com, go back to the first step of this guide and make sure you have followed the guidelines.
Everything worked correctly? Congratulations! You can now publish the container by clicking the Submit button in the top right corner of the GTM panel.
From now on, information about visitors to your website and their behaviors will be collected in your User.com application.